Showing posts with label Z Frame. Show all posts

Monday, March 18, 2013

Finally Some Paint

After days, maybe even months of indecision about how and what to paint the frame with I decided just to paint the frame with spray paint. I was going to spend the money and get it powder coated but there are still somethings I still don't like about it. In otherwords I don't want this frame to showcase or be representitive of my work. I figure the $150+ dollars would be better spent on another tubeset.


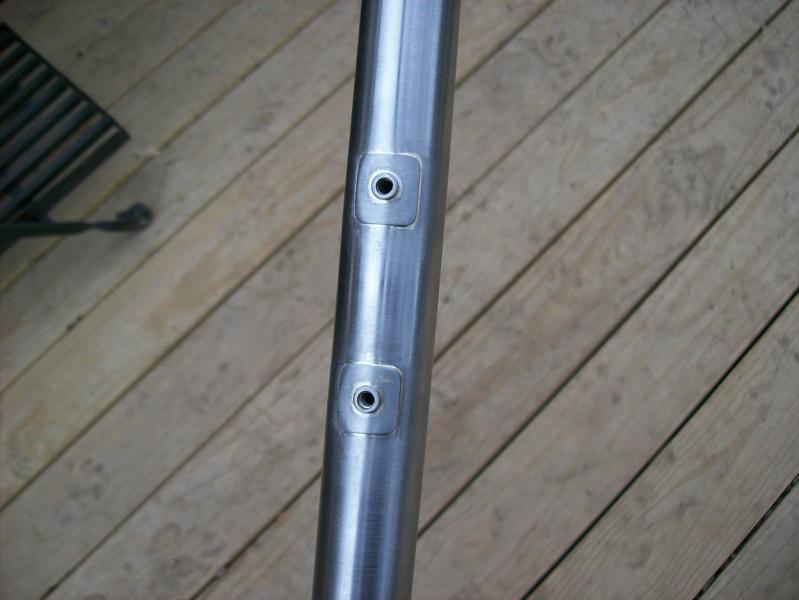
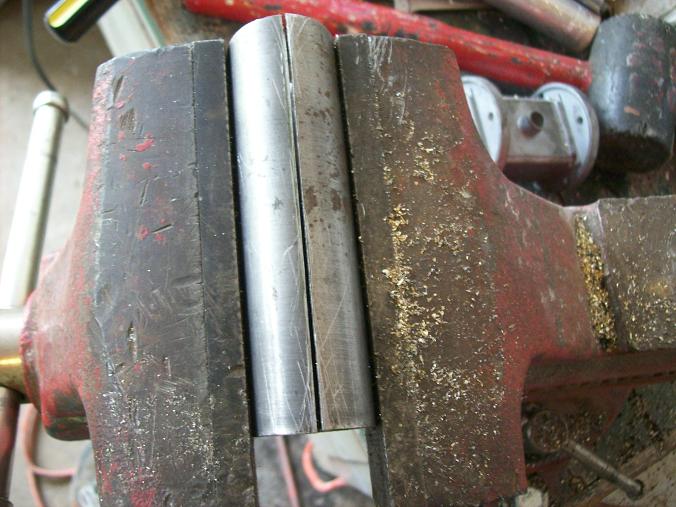
I didn't build a fork. Mostly because I picked up this new Kesteral fork for $45 and I was done with it. It's hard to beat that.

The frame was primed and sanded with Rustoleum primer, then painted with Rustoleum  high performance, blue. The blue finish turned out to be more orange peel texture than gloss. The white is Krylon Gloss, it's turned out pretty well considering it's spray paint. Of the two Krylon has always turned out best.

On the scale of 1 to 10 I'm talking about 3 on the blue, and 5 on the white. Either way hardly anything to crow about, but this info is here none the less. I'll have some more detailed photos soon

Tuesday, December 25, 2012

Finished except for the finish

I'm pretty sure I can put the torch away . . .  for now. It seems eveytime I say that, there I go again. I'm not sure what color to paint it. Powder, Wet, or Rattle can.


A little more sanding and I might even consider just a clear coat
 I'm pretty happy with the seat tube details. This gives me some ideas for other projects.
Yes I went with the downtube shifter bosses. I just might go for a set of Dura-Ace 10 speed downtube shifters if I can find some brake lever I like. I'd even go friction if I can find a set I like that can wrap all 10 cogs. Right not on my commuter I use friction with 8 speed. I've been doing it for years and it's second nature to me. recently I rode my Cross bike and I caught myself reaching down for my shift levers many times. If you ride it long enough it's like typing.

If I go clear these will need some touching up. I made a lot of different shapes for the H2O reinforcements, but everybody seemed to like these, just simple squares. I think they compliment the rest of the bike with it's fillets

The bottom bracket.
 The backside of the bottom bracket.
A last minute addition. A Columbine "Quick Chainger". Since I'm not racing, It's more for looks than anything. The idea is if you get a rear flat tire and get a wheel change, shift your bike into the last gear (Like you should on any bike), then release the the bike wheel, and the chain will land on the braze-on, so you won't have to touch the chain when you put on the new wheel.  It doesn't keep tension on the chain like a traditional chain hanger.


 Yep...The cause of much pain, but its finished

The plug style dropouts were also an experience. Stainless Steel...No Rust! The trick was to get the plug to match the inside diameter of the chainstay. in hindsight I might have gone 420mm, because I'm all about the stability. It's a road bike.

Saturday, December 8, 2012

The ASSembly

You never know if it's going to work until it's assembled. The frame has 410cm chainstays. It's a around standard length for road bikes. With the plug style dropout I had to cut them back till the inside diameter was large enough you me to get the plug in. If I remember right this was about as long as I could get them without a lot of hassle.

Anyway when you add the skewer and rear deraileur the rear wheel drops out a little differently.
It should not be a problem with the chainstay length, but where you put the chainstay brace.


The rear wheel doesn't drop straight down. as you see above when the quick release and rear deraileur have to pass each other, you get this. The rear tire hits the brace a bit.


So cut a contour in the brace, then cover it with sheet metal, and there you go....clearance.

I wonder what other surprises await.

Sunday, November 25, 2012

Seat Cluster Un-Clustered

 So I went from this ..............................................to this.


With the Thomson seat post clamp it doesn't look too shabby. I've still got a bit of cleaning up to do, so who knows what will happen between brazing on the small parts and the paint. No really.

Since I'm building the frame I get to put the cable stops where I want. Some frames they are on top the top tube, other they are offset. I know the offset allows a more natural flow for the rear cable housing, but I always seem to snag my shorts on them... or whatever. I think a lot has to do with what type caliper you have. I have a Dura-Ace 7800. I think it's weird that they design the caliper so the housing is pointed right through the seat tube. I guess this way it's a 50/50. It's optimised for the stops to be on top, or offset. It's also a consideration where on the top tube they are. do you put them 2" or 3-1/2" from the seat tube. The natural flow of the cable from this caliper places the stop about 3-1/2" from the seat tube. Personally I don't think you will be able to tell, but you have to place them someplace.

Friday, November 23, 2012

The order of things

I've given this fix a lot of thought. I'm going to join a piece of seat tube to the top of the seat tube that is left. The problem is have it align after with almost exacting precision. I figure if I align the tubes with a seat post, then clamp it together in my jig, then clamp the ends of the tubes with c-clamps, then  tack it in 4 places, then tin it after I might be real close. Call me Jig Clampet.


This is what I got right out of the jig. Not too bad. It's going to be covered by the sleeve anyway. The important thing here is alignment.


With a little filing and sanding I have a smooth seam. and the post slid in and out just fine. I thought I'd be a little off, but it work perfectly.

The trick is to use brass because it's got a higher melting point than silver.


If I had joined it with silver, I would risk melting the seam when I sweat the sleeve on with silver.
   

Sunday, October 7, 2012

Clamp It

After thinking about it all, I might can the idea of using that sleeve I cut. It's already going to be hard enough. I could use a piece of 1-1/4" x .058" and it will shim up nice. As you can see the new bender is in place. I'm either going braze on, or with a Thomson seat collar. I mean, how can you go wrong with Thomson.  

Having to hand file, and rework this stuff is a real mess. What are my options?  Not many. Here a matrix of hose clamps helping me out getting everything aligned.

Sunday, September 30, 2012

It's a cluster alright

Now where were we? I could make that mistake work. It wouldn't be the first bike frame with a seat post binderbelow the top tube, but it wouldn't look right. So what would the point of finishing? After sifting through many ideas, and a massive expense of time and effort lost trying to make a tubing expander work.  I grabbed my hack saw, and my trusty rotary file. Like I've said before. The rotary file gets things done fast, but at the cost of throwing metal splinters everywhere.

When you get to this point, your decision is made for which direction your going to go.
Looks like I'm going to commit to making a seat tube reinforcement work. Feel me yet?

Looks real Nice right?

So how the 1-1/4" tube doesn't exactly fit snug over the 1-1/8". I've got to fix that. This is where the fun begins.

 A birds eye view.

Since 1-1/8" tubing inside 1-1/4" tubing leaves too much tolerance, I'd have to get a thicker tube, or get special tubing drawn, or modify this tube. I chose to cut the length of the tube down the middle holding a very straight line. concentrate, don't let that saw wonder. You also want to crank the tension up on the blade.
It took not just 1 but 2 cuts going down the length holding a 1/16" tolerance. Just use a hask saw with the most teeth per inch you can find, a lot of patience and concentration.


With it clamped up it's really close. Considering it was done with a hack saw.


Here it is roughed out, so you can get a rough idea how this is going to work out.

Friday, September 7, 2012

It's a comedy of errors...It's a comedy, but not that funny

Yep......It seems this frame doesn't want to get built. I've been thinking of clever ways to correct myself this last month or so. I was silver brazing on a seat binder, then POP, POP, POP,POP. I some how got my fluxes mixed up and blew a hole in the side of the seat tube extension. I sawed it off and this is what I now have to work with. The bad thing is I was going to go with a Thomson seat binder since I'm going to use a Thomson post and stem. But hey live & learn. Yep...this is where it's going to get good.

Thursday, July 26, 2012

Form of......a Diamond

 I've got the rear triangle connected to the front triangle. Here are picture of how the plug type dropouts work. First you make sure there is a tight fit between the plug and inside of the tube. Not to loose and not too tight, just enough so melted silver can take up the space and glue it in place pretty much.


Here is a picture of the silver ring.


 Then you slide it inside the tube, then you heat it up till you see a ring of silver where the dropout and tube meets. For some reason I didn't get a picture of that, but it would look exactly like the chainstay.


Mitering the seatsays to the seat tube is a thankless job, or maybe one that is a lot more demanding than would appear. The trick is to get them both mirror image of each other, and the exactly same length. I've seen mitering fixture for around $1000. If you do this professionally it's worth well over that.


Here they are joined and ready to filing and sanding. not too much to do here.


The bottom bracket area still needs a little work. I didn't get any good pictures. This is the best I have. I put a wheel in and it's spot on. I went over this meticuliously and I got what I wanted.

Sunday, July 8, 2012

The dropouts and here to chainstay.

Getting ready chainstays ready to braze on the front triangle. If you remember from way back I showed the assembly .http://curbdestroyer.blogspot.com/2011/12/drop-out.html.

Here is what the miter on the bottom brack side looks like. They are positioned 7mm from the end of the bottom bracket, then angle back at about 8 degrees.


I made the decision to cut off the rack and fender mounts. It's going to be a road bike on the racing side, so I don't have room for real fenders, and I already have a bike that has racks on it.
There is a little bit of a seam. I'm not sure why it's there. I filed it to mate up square, but there is that silver ring. The good new is everybody example I've seen like this has the ring.

You have to Silver braze stainless.You have to make a ring of silver, then put it on top the plug, the put the plug in the tube, heat up the tube where the top of the plug is inside the tube till the silver runs out between the bottom of the tube, and the lip of the plug.


There you have it.

Sunday, June 24, 2012

Front Triangle is done

The front triangle is done...well sorta.  I still have some sanding to do and a few brazes-ons. I'm still thinking about if I want it to a be a Cross bike or a road bike. Since this frame is not exactly the geometry I want. Since it's 72.3 head angle and 72.5 seat angle it can go either way. Sure the head angle is laid back, but I like it. I've lost more races because I've crashed, rather than my bike didn't handle fast enough.  So I tend to go for stability when I have to make a choice.
The bottome bracket turned out best. It's the hardest one to get right since you have 3 different size tubes, and the bottom bracket is a lot thicker, so it handle heat different than the other tubes. it heats up slower, and it cools down slower. but there you have it.
The head tube. I've still got some sanding and a few fixes. Other than cosmetic features I don;t have any concerns.


The top tube seat tube. I didn't this last and it shows. Too bad I don't do more. I wonder how go I could get if I did this everyday? Well next the chainstays. This is where I have to commit. While this frame's front triangle has a geoptry that stradles the fence, the chainstay either have to be 410mm'ish for road, or 430mm'ish for Cyclocross.

Thursday, June 21, 2012

Well....Back at it a little


Got the Math Done.

Then I got it on the jig. The top tube is going to slope at 2 degrees.

Thursday, February 16, 2012

The Head Tube

It will be interesting to see how this turns out. It might be the greatest thing I ever built since I have low expectations the way it's been going. I mean it wasn't even supposed to be my frame. I bought a fork with steerer that turned out to be 8mm too short. I toyed with the idea of dropping the bottom bracket down to 72 from 68, and some other tweaks. I've got a Fuji from 91 that has a bottom bracket that low and it's one of the best frames I've ever ridden. It's also 72.5 parallel. It's stability galore, but then I'd have to tweak the angle between the downtube and seat tube. So I desided to buy another fork ,and just stick with my original design. I should build one. I still might. but for $40 when I think bare materials alone for a steel fork willl cost around $100+...enough already.

Jigged up and read to braze.


This is the first pass. This is called tinning the joint. you go around the joint a little hotter, and a little thinner. this is to make sure the joint is sealed and you have an internal fillet...cough, cough.


The final fillet before soaking. It dosen't look too good. Basically that means it's sound, but it's going to take a lot of cleanup. Next frame I'm brazing the whole frame the same day. I'm a little out of practice, but I think in the end it's will be fine.